There are 2 ways to change the setting on a printer in order to display its IP address on the control panel: Via Printer EWS (Embedded Web Server) or using Web Jet Admin
Option One: Via EWS
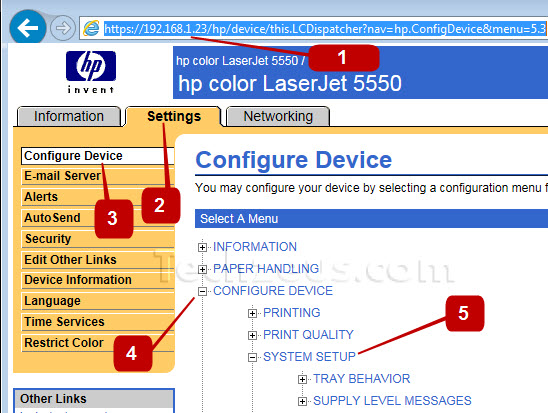
- Use your favorite browser and brows to the printer using its IP or hostname
- Click Settings tab
- Click Configure device link on the left
- Click CONFIGURE DEVICE link under “Select Menu” on the right
- Click SYSTEM SETUP link
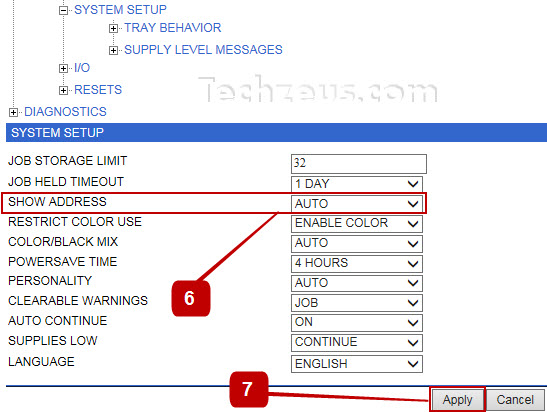
- Change the value of SHOW ADDRESS to AUTO and Click apply
Option two: Using Web Jet Admin
- Open Web Jetadmin client application and click to highlight the printer in Web Jetadmin workspace (right navigation pane). If the printer is not on the list, you may need to perform a Discovery or Quick Discovery.
- Click on Config Tab
- Click the plus sign next to My Settings
- Click on “Control Panel Display”
- On the right panel choose what to display on the control panel, in this case IP or the Hostname and click apply
- On the Pop-Up message click “Configure Devices”
- Click Done when Completed